In this tutorial you will get the Dreambox ReStream Live image running in Virtual Box. By default the Dreambox ReStream Live Image interface is accessible at http://dreamboxrestream.
The steps that are needed are:
- Download and Install VirtualBox
- Download the Dreambox ReStream Live Image
- Import the Dreambox ReStream Live Image into VirtualBox
- Configure the right network interface in VirtualBox
- Start the image and wait a minute
- Setting up Dreambox ReStream
1. Download and install VirtualBox
VirtualBox can be downloaded from the following url: https://www.virtualbox.org/wiki/Downloads. There are versions for Windows, Mac OSX and Linux. Download the latest version and install it on your system. Install it with the default options. It could be that you need to restart your Windows in order to get VirtualBox running

2. Download the Dreambox ReStream Live Image
The Dreambox ReStream Live Image can be downloaded from the following url: Dreambox ReStream Live Image . The download can take a bit of time, because the image is about 770 MB big. Download the file to a location you can easily remember. After downloading, unzip the file and you will get the file named 'DreamboxRestream.ova'
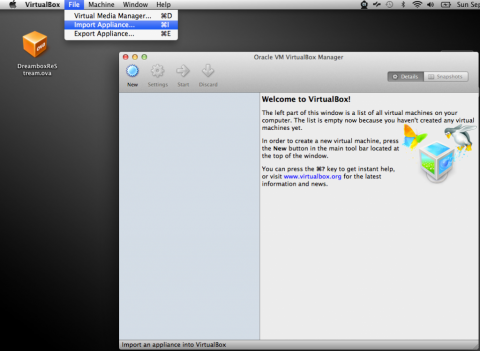
3. Import the Dreambox ReStream Live Image into VirtualBox
Start VirtualBox and import the Dreambox ReStream by going to 'File' -> 'Import Appliance'
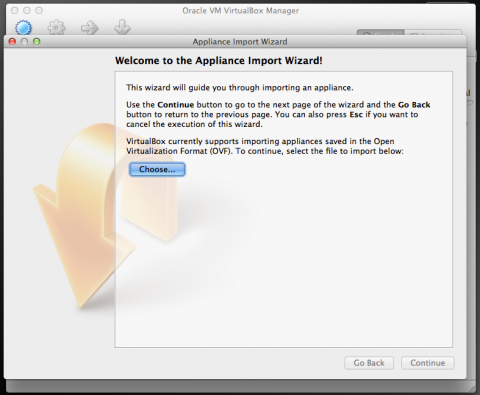
In the next screen click on the 'Choose' button
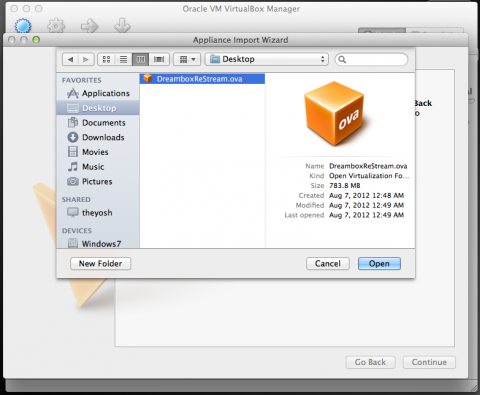
Locate the Dreambox ReStream Live Image. In this tutorial we have downloaded and unpacked it on the Desktop
When the DreamboxReStream Live Image is loaded, the following summary should appear. The version numbers could differ, where the Dreambox ReStream Live image is updated itself as the Dreambox ReStream software.
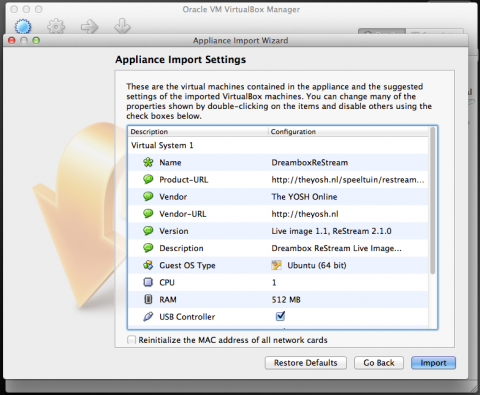
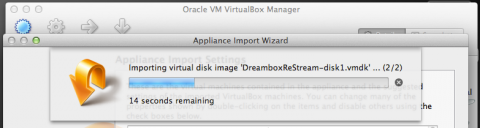
Now press the 'Import' button and the Dreambox ReStream Live Image is imported into VirtualBox so that it can be run.
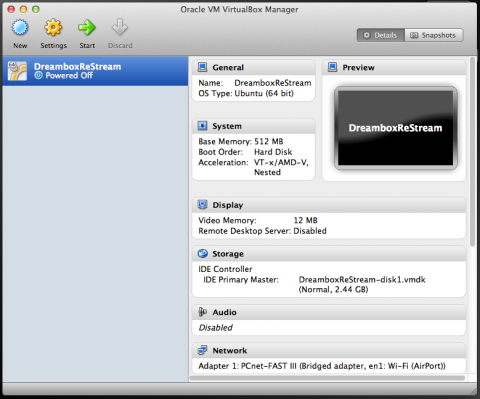
After a couple of minutes a new summary screen should appear. Click on the DreamboxReStream image on the left part of the screen to get the summary of the live image.
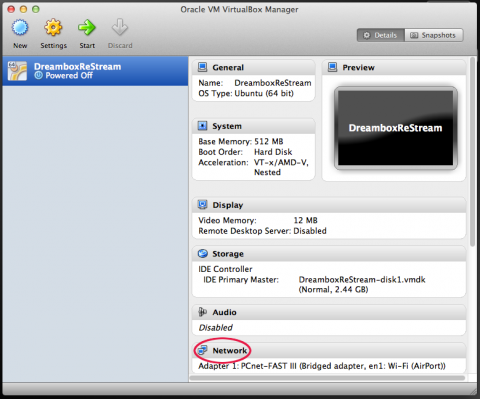
4. Configure the right network interface in VirtualBox
In the summary screen above, double click on the network title.
This will popup a new window where you can select the right network interface. Make sure that the network adapter 1 is enabled and that it is attached to the 'Bridge Adapter'. This should be the default. Below that select the right network interface. Make sure it is a connected interface with a working IP number.
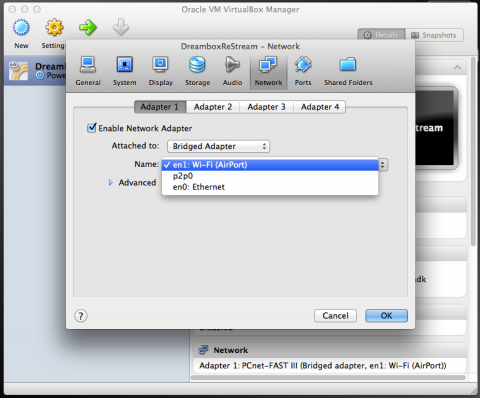
Press 'ok' to save the settings and start the Dreambox ReStream Virtual Image. This setup has only be done once. Or when you change your network settings in your computer, you probably have to recheck the settings in VirtualBox.
5. Start the image and wait a minute
To start the Dreambox ReStream Live Image, just press the big green start arrow. This will power up the VirtualBox Image.

After a 30 seconds the following screen below should appear. This is the Linux login prompt of the Dreambox ReStream Live Image. When this screen is loaded, the system is loaded.
powered
If there is no IP numbers showing go back to step 4 and change the network adapter to a different device.
6. Setting up Dreambox ReStream
When the Dreambox ReStream Live Image is powerd up and running, enter the Dreambox ReStream web interface at: http://dreamboxrestream. It could take a few minutes before the DNS name is working. That depends on your home network setup.
The first time you start the Dreambox ReStream Live Image it needs to be configured. Most settings are prefilled and can be used by default. The only important settings it the IP address of the Dreambox. When the settings are entered and saved, the web interface will be loaded and you are ready to rock and roll!! A more detailed setup will be soon at.....